Removing a chain link fence may seem like a daunting task, but with the right approach, tools, and preparation, it can be a straightforward project. Whether you’re replacing it, upgrading your yard, or clearing space for a new project, this guide will help you break it down step by step. Plus, renting a dumpster from JD Transport can make the process smoother and more efficient. Here’s how!

1. Prepare Your Tools and Work Area
Before jumping in, gather all the necessary tools, such as a pair of pliers, bolt cutters, a socket wrench, gloves, and safety goggles. Clear the area around the fence of any obstructions like bushes, furniture, or debris to ensure a safe and manageable workspace.
Tip: Rent a dumpster to dispose of bushes, yard debris, or any old junk you might uncover while prepping the area. A single dumpster saves multiple trips to the dump!
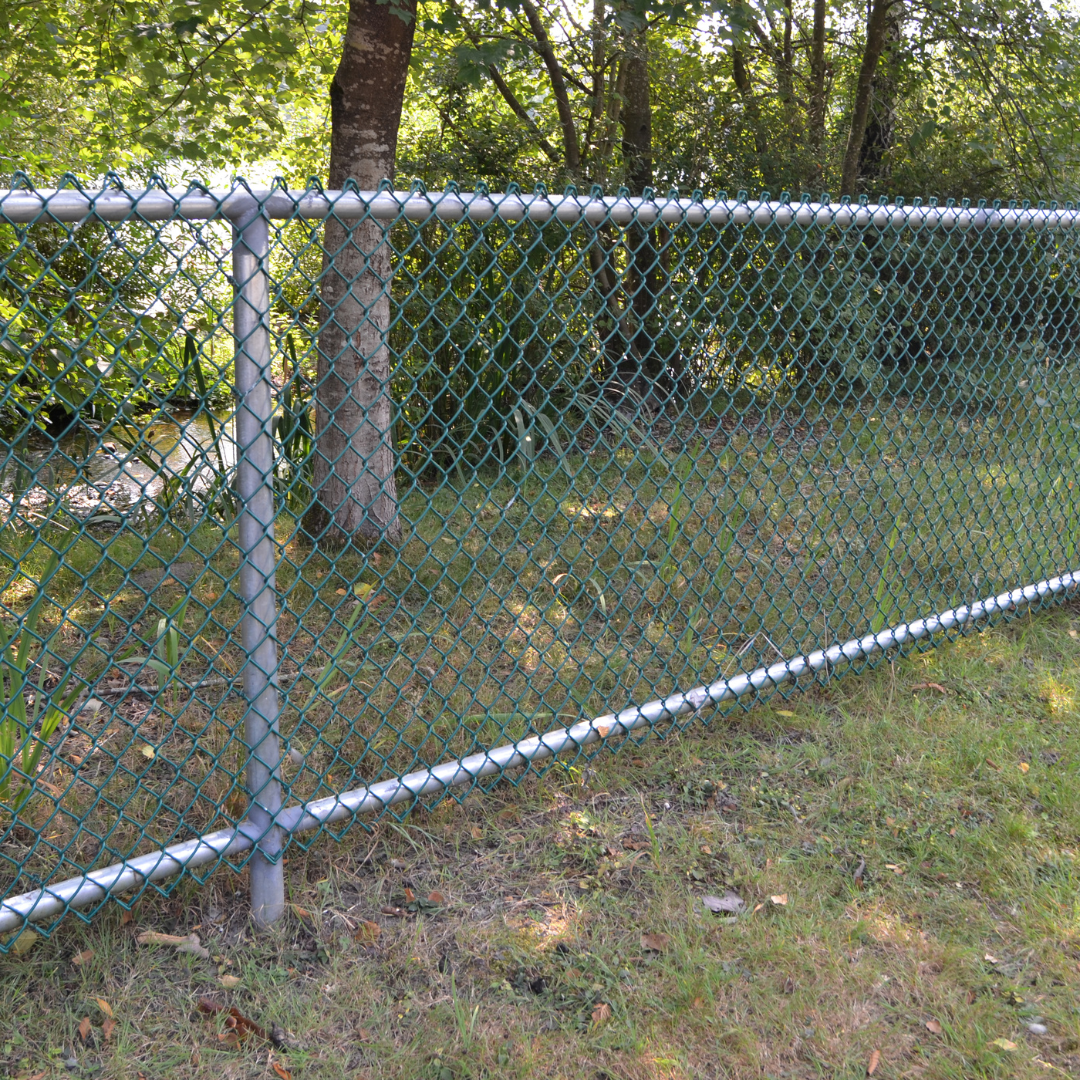
2. Remove the Fence Fabric
The chain link portion of the fence, also known as the fabric, is the first thing you’ll want to take down. Start by unhooking the fence from the top rail. Use pliers to untwist the metal ties holding the fence fabric in place. Once untied, roll up the chain link fabric to make it easier to handle.
Tip: Roll up the chain link fabric and toss it directly into your rented dumpster. This keeps the area clean and prevents sharp edges from becoming a safety hazard.
3. Take Down the Top Rail
Once the chain link fabric is removed, the next step is to detach the top rail. Use a wrench to loosen and remove the bolts or clamps that secure the rail to the fence posts. Carefully lower the rail to the ground to avoid damage to nearby property or injuries.
Tip: The top rail is often made of heavy metal. Renting a dumpster ensures you have a place to dispose of it safely and without cluttering your yard.
4. Dig Up the Fence Posts
Fence posts are often cemented into the ground, making their removal the most labor-intensive step. Use a shovel or post hole digger to loosen the soil around each post. For cemented posts, a sledgehammer or pry bar may be needed to break the concrete free. Pull out each post carefully to avoid damaging underground utilities.
Tip: Concrete chunks and metal posts are heavy and bulky. A dumpster rental service makes it easy to handle these materials and avoids multiple trips to your local landfill.
5. Clean Up the Site
With the fence removed, you’re left with a lot of debris. Gather leftover materials, including the metal posts, concrete, and any miscellaneous scraps, and load them into your rented dumpster. Clean the area thoroughly to prepare for your next project.
Tip: Renting a dumpster helps you streamline cleanup, saving time and effort. With JD Transport, you can pick the perfect dumpster size to handle all your debris efficiently.
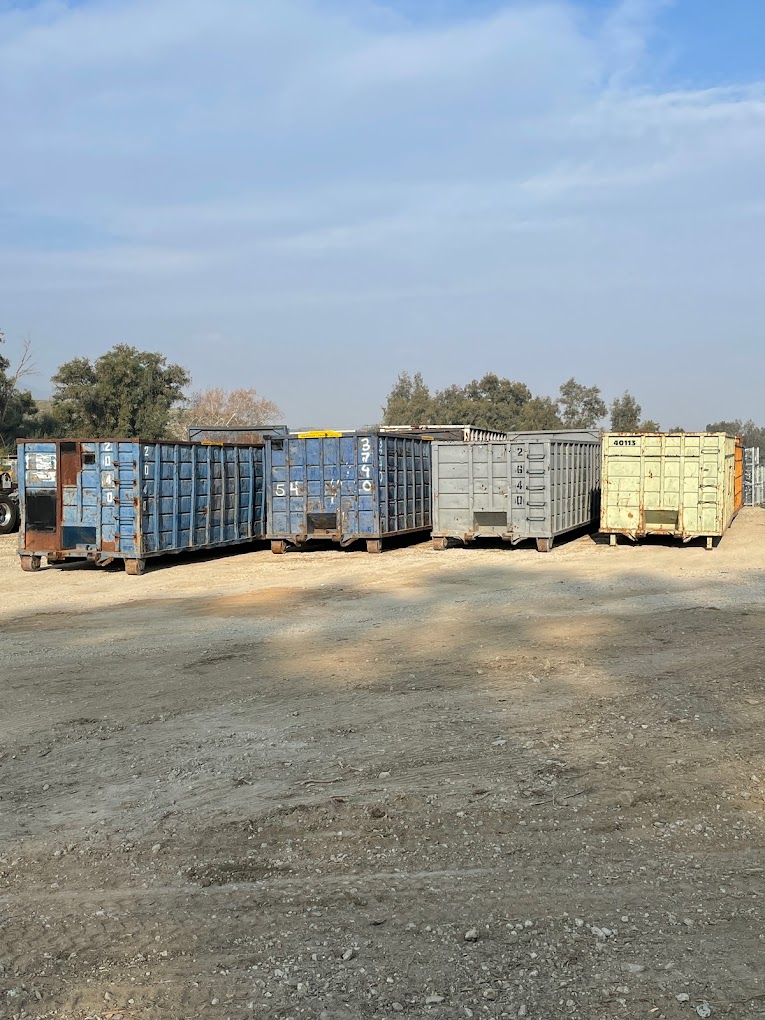
Rent A Dumpster From JD Transport Today!
Fence removal generates a significant amount of waste, from rusty chain link fabric to heavy concrete and dirt. JD Transport’s dumpster rental services make cleanup fast, convenient, and stress-free. With a dumpster on-site, you can focus on completing your project instead of worrying about waste disposal.
Removing a chain link fence doesn’t have to be overwhelming. By following these steps and partnering with JD Transport for a reliable dumpster rental, you can simplify the process and keep your project on track. Ready to get started? Contact us today to rent your dumpster and make fence removal a breeze!